A bathroom vanity is the visual anchor of the room. It carries the cabinetry, the countertop, the sink, and — by proxy — the mirror and lighting that sit above it. Choosing a vanity well is less about finding a favorite catalog photo and more about working through sizing, configuration, materials, and coordination decisions in the right order. This guide walks through that sequence for Paramus and Bergen County bathrooms.
What this guide covers
A practical algorithm for vanity selection: how to size the vanity to the room, when single beats double (and vice versa), how to compare countertop materials, sink configuration choices, custom vs catalog trade-offs, and how to coordinate mirror and lighting so the finished bathroom reads as a single composition.
Step 1 — Size the vanity to the room
Before choosing a style or finish, measure the wall the vanity will sit against and decide how much of it the vanity should occupy. Common starting points:
| Vanity width | Best fit room type | User count |
|---|---|---|
| 24”–30” single | Powder rooms and small half-baths | 1 user, occasional guest |
| 36”–42” single | Standard family bath, single-vanity primary | 1–2 users, sequential |
| 48”–54” single | Larger family baths or solo primary baths | 1 user with generous counter, or 2 sequential |
| 60”–66” double | Shared family baths or primary baths | 2 users, often simultaneous |
| 72”–84” double | Large primary suites | 2 users, full simultaneous use |
Custom widths fill non-standard wall lengths exactly and typically complete within roughly two weeks through a local custom program. Floating vanities work in any of these widths; they read lighter visually and require structural blocking inside the wall.
Step 2 — Single or double
The decision is driven by user count and wall length. Two adults sharing a primary bathroom usually justify a double vanity if the wall is at least 60 inches long. Below that, a single vanity with a longer counter often works better than two cramped sinks.
Family baths shared by children frequently work better with a wide single vanity and one large mirror than with two undersized sinks. The double is not automatically the right call; it is the right call when the wall length supports it and the household actually uses the bathroom simultaneously.
Step 3 — Countertop material
The countertop sits at eye level whenever someone uses the sink, so the material decision matters more than it does in many other rooms. Common choices:
Quartz (engineered stone) is the most common bathroom counter today. Stain-resistant, consistent, low-maintenance, and available in a wide range of patterns. The default choice for most daily-use bathrooms.
Natural marble delivers a look nothing else replicates, and it demands real care. Acidic products etch unsealed surfaces; periodic sealing is required. Beautiful in primary suites where the household tolerates the maintenance.
Sintered stone is dense, scratch-resistant, and available in large continuous panels. A premium choice for contemporary bathrooms.
Integrated porcelain tops offer a seamless counter-and-sink piece in a single material. Clean look, easy to maintain, available across a range of colors.
Solid surface materials offer integrated sink options and easy repair. They sit at a lower price point and deliver a clean read in transitional and contemporary bathrooms.
Match the material to the household’s tolerance for care: low-maintenance, low-care families lean quartz or sintered stone; design-forward households tolerant of routine sealing can consider marble.
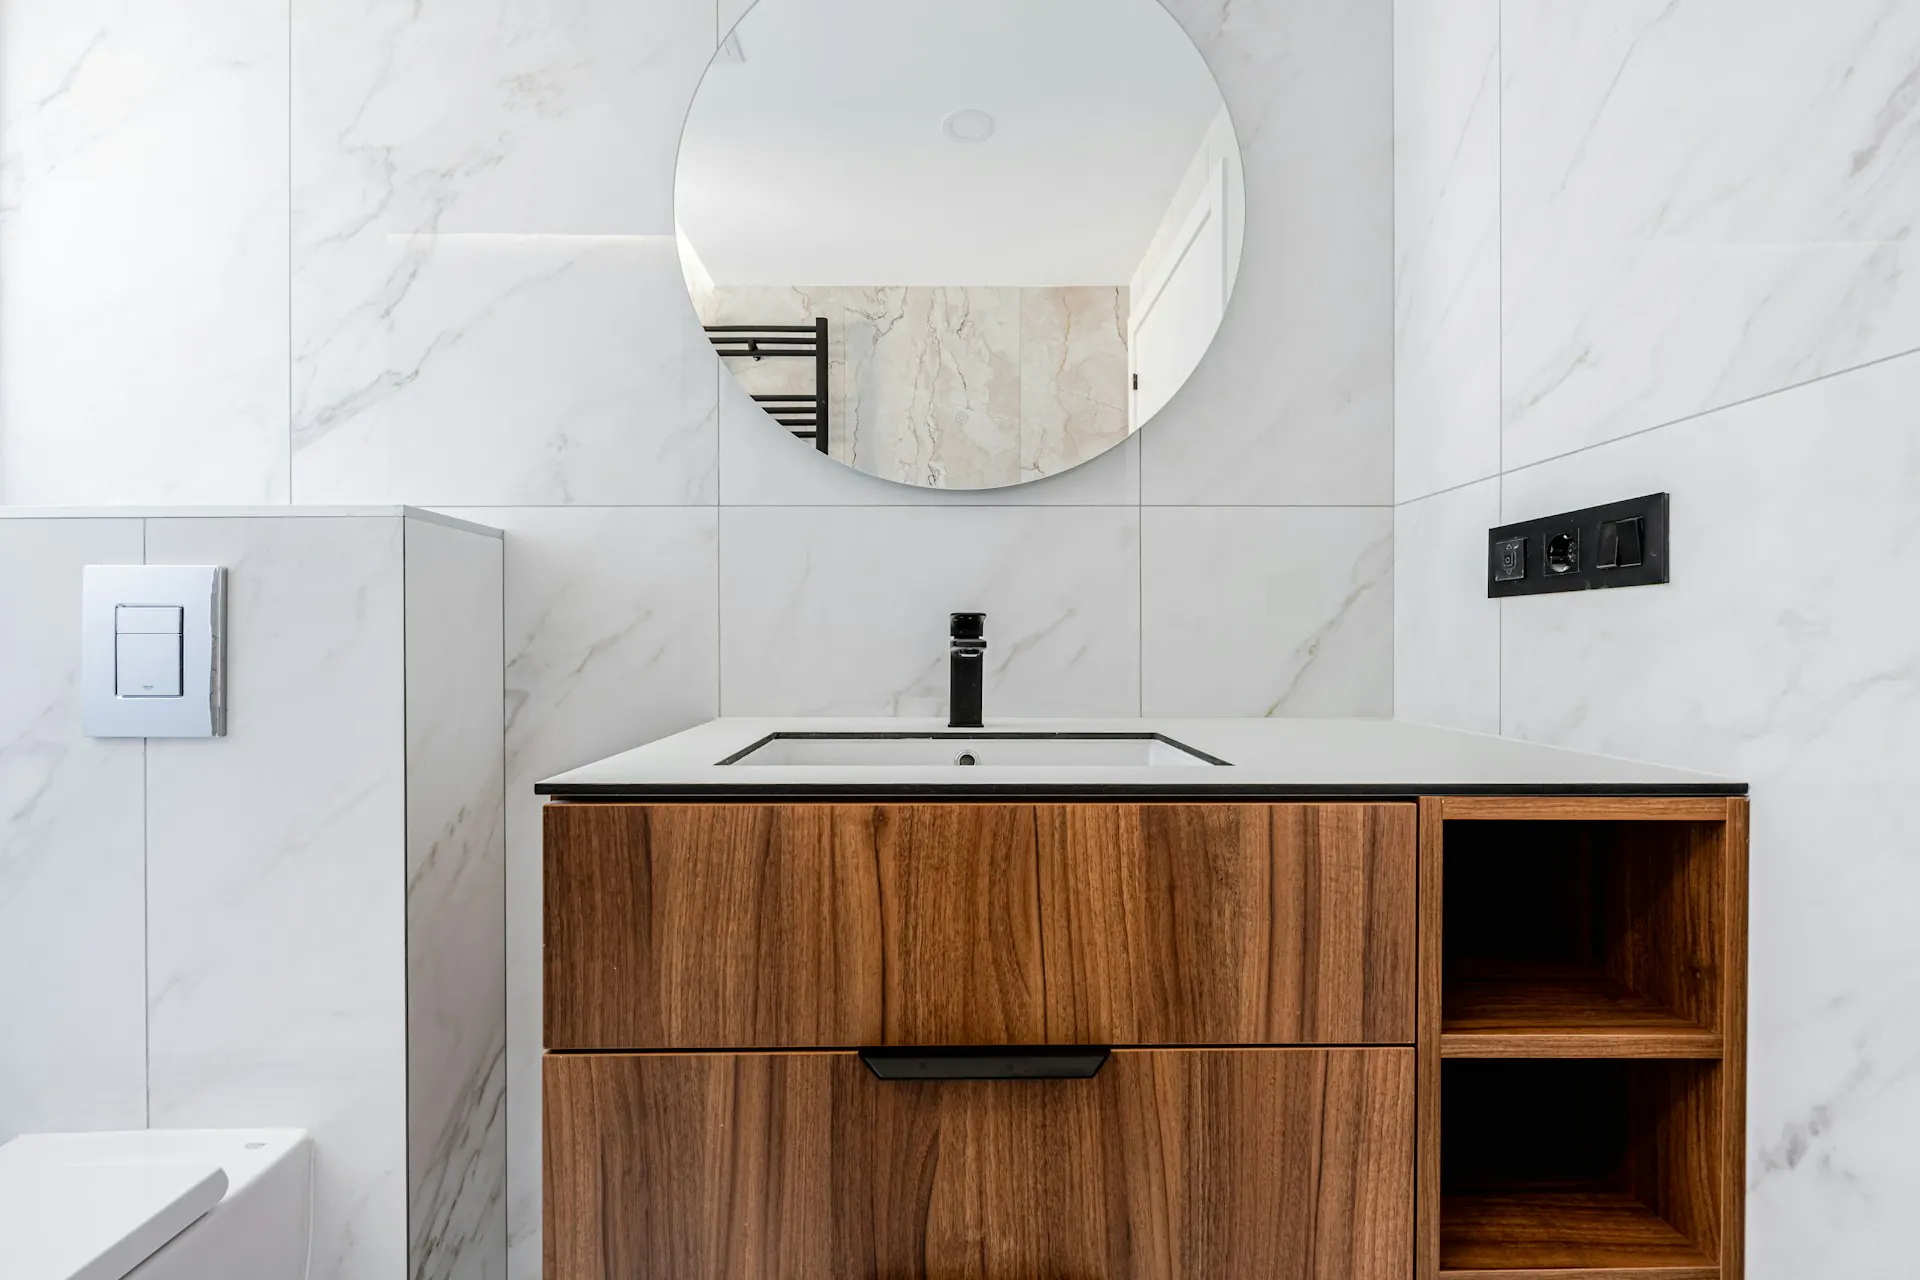
Step 4 — Sink configuration
Sink choices break into three categories:
Undermount sinks install below the counter. Clean read, no rim to clean around, works with all stone and engineered stone counters.
Vessel sinks sit on top of the counter. Strong visual statement, raises the working height of the basin (which can be uncomfortable for shorter users), more cleaning around the base.
Integrated sinks are part of the counter material itself. Seamless, premium feel, easiest to clean.
For most family and primary bathrooms, undermount is the reliable choice. Vessel sinks read strongest in powder rooms where they function as a design moment rather than a daily-use station.
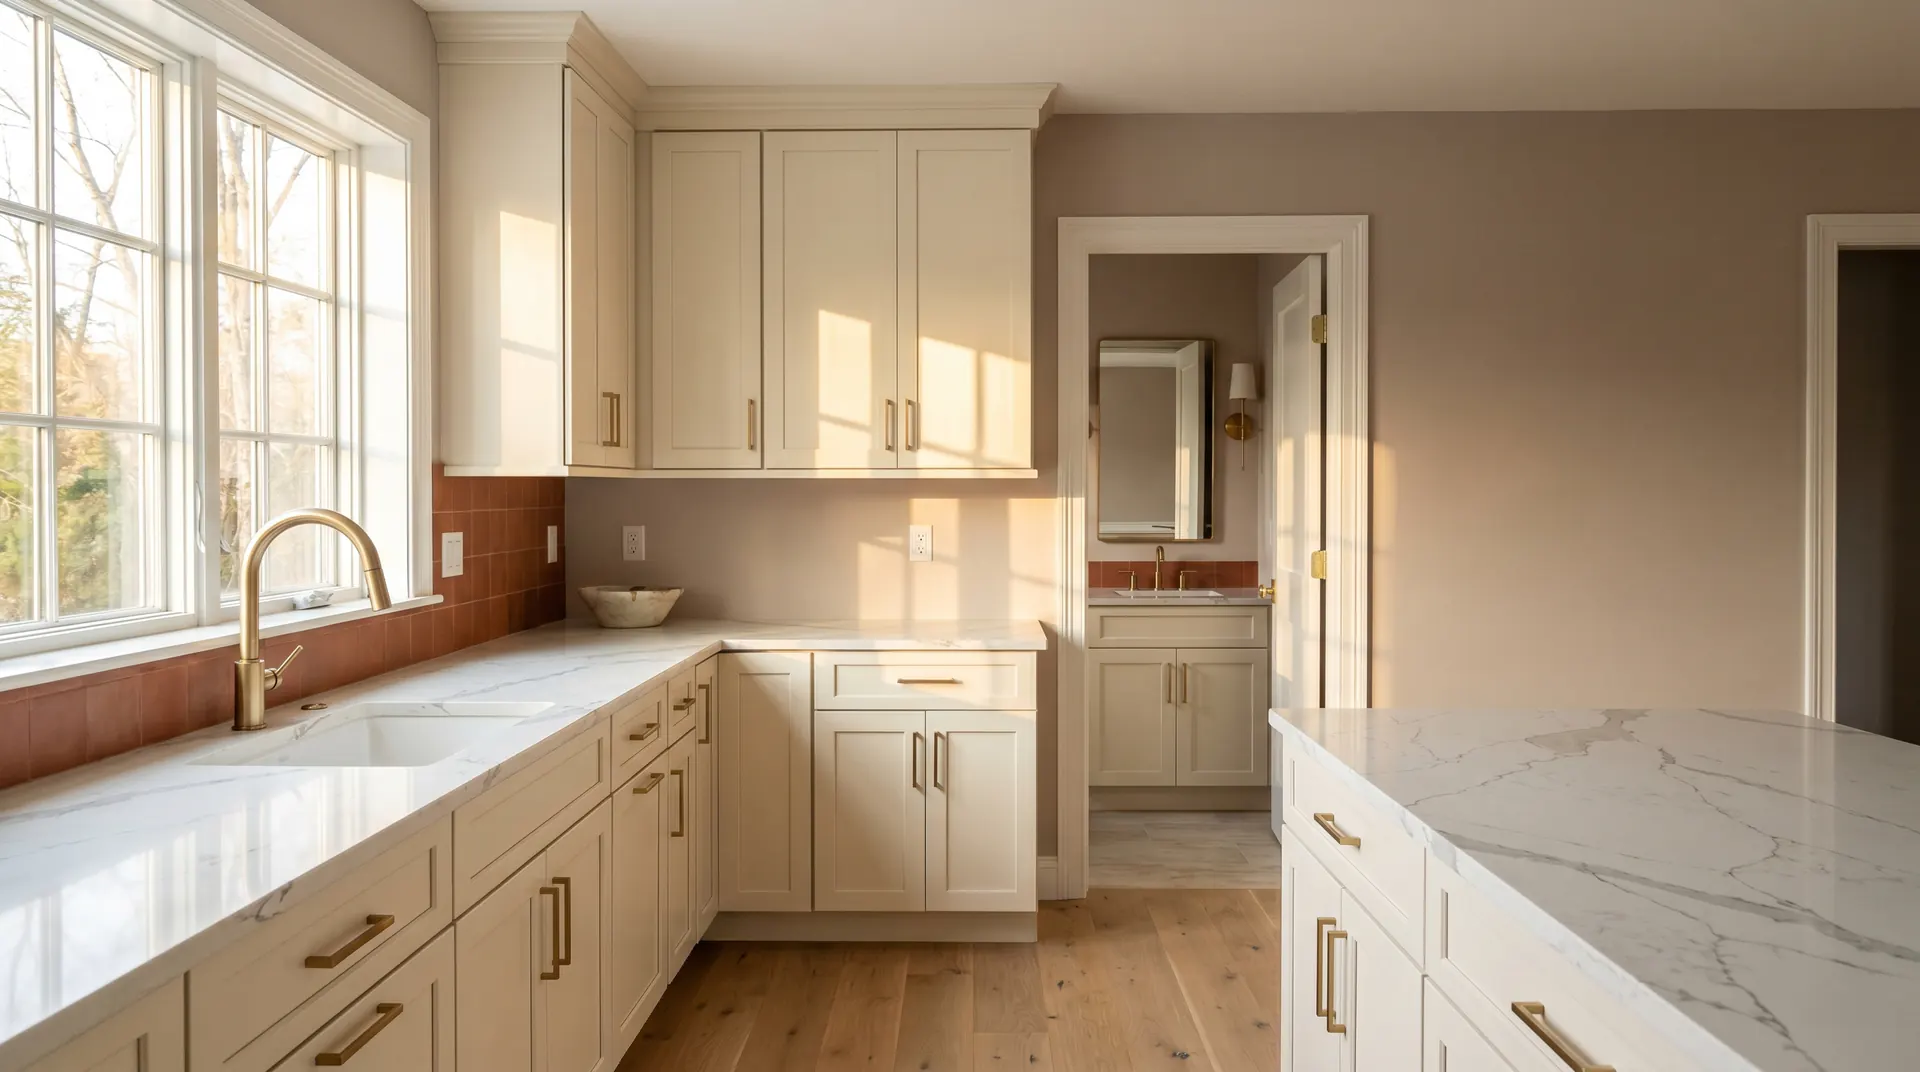
Step 5 — Mirror and lighting coordination
The mirror and lighting are part of the vanity decision, not separate afterthoughts. Three rules of thumb:
- The mirror sits centered above the sink (or sinks) and is proportioned to the vanity width — typically narrower than the vanity itself by 4 to 8 inches.
- Face lighting comes from sconces flanking the mirror at roughly eye level, or from a top-mounted fixture above the mirror. Ceiling-only lighting throws shadows under the eyes and produces an unflattering result.
- The metal finish on the lighting should sit in the same family as the faucet and cabinet hardware. Mixing finishes is fine when deliberate; unintentional mixing reads as oversight.
For double vanities, two mirrors over the two sinks usually read better than one wide mirror, and two sets of sconces (or one shared top-mount per mirror) coordinate naturally.
Step 6 — Custom vs catalog
Catalog vanities cover most common wall lengths at predictable prices and standard lead times. Custom vanities make sense when:
- The wall length does not match a catalog width
- The room demands non-standard depth (older Bergen County homes sometimes have shallow walls)
- The drawer configuration needs to be specific (medication storage, hair tools, deep storage)
- The finish or wood species needs to coordinate with adjacent built-ins
- Architectural detail in the room demands a specific look that catalogs do not deliver
A local custom program completes a vanity in roughly two weeks for typical configurations. That timing is often faster than many semi-custom catalog vanities, which makes custom feasible for primary bath remodels with tight schedules.
Bergen County housing context
The right vanity direction shifts with home era. Tenafly center-hall colonials and Englewood properties often support 60-inch and wider double vanities in primary suites. Hackensack pre-war primary baths typically read more correctly with a wide single vanity than with a forced double; the proportion fits the home’s architectural language. Fair Lawn split-levels and Paramus singles often have compact bathrooms where 36 to 48-inch single vanities work best. Ridgewood, Glen Rock, Oradell, and River Edge bathrooms span the full range.
For sizing detail and layout patterns, see the vanity sizes and layouts guide. For broader project context, see bathroom remodeling planning. For showroom prep, see the bathroom showroom visit checklist.
When you are ready
When the vanity direction is clear — sized to the room, single or double decided, countertop material chosen, mirror and lighting coordinated — the next step is comparing actual vanity samples and counter slabs in person. Continue with Anve Kitchen and Bath in Paramus to see the catalog and custom options at full size.